How to Optimize and Upload Images for Your WordPress Website
Adding images to your WordPress website is a fantastic way to make your content more engaging and visually appealing. However, if images aren't optimized correctly, they can slow down your website, frustrate visitors, and even appear blurry.
This guide will walk you through the best practices for preparing your images and uploading them to WordPress, ensuring they look great and load quickly.
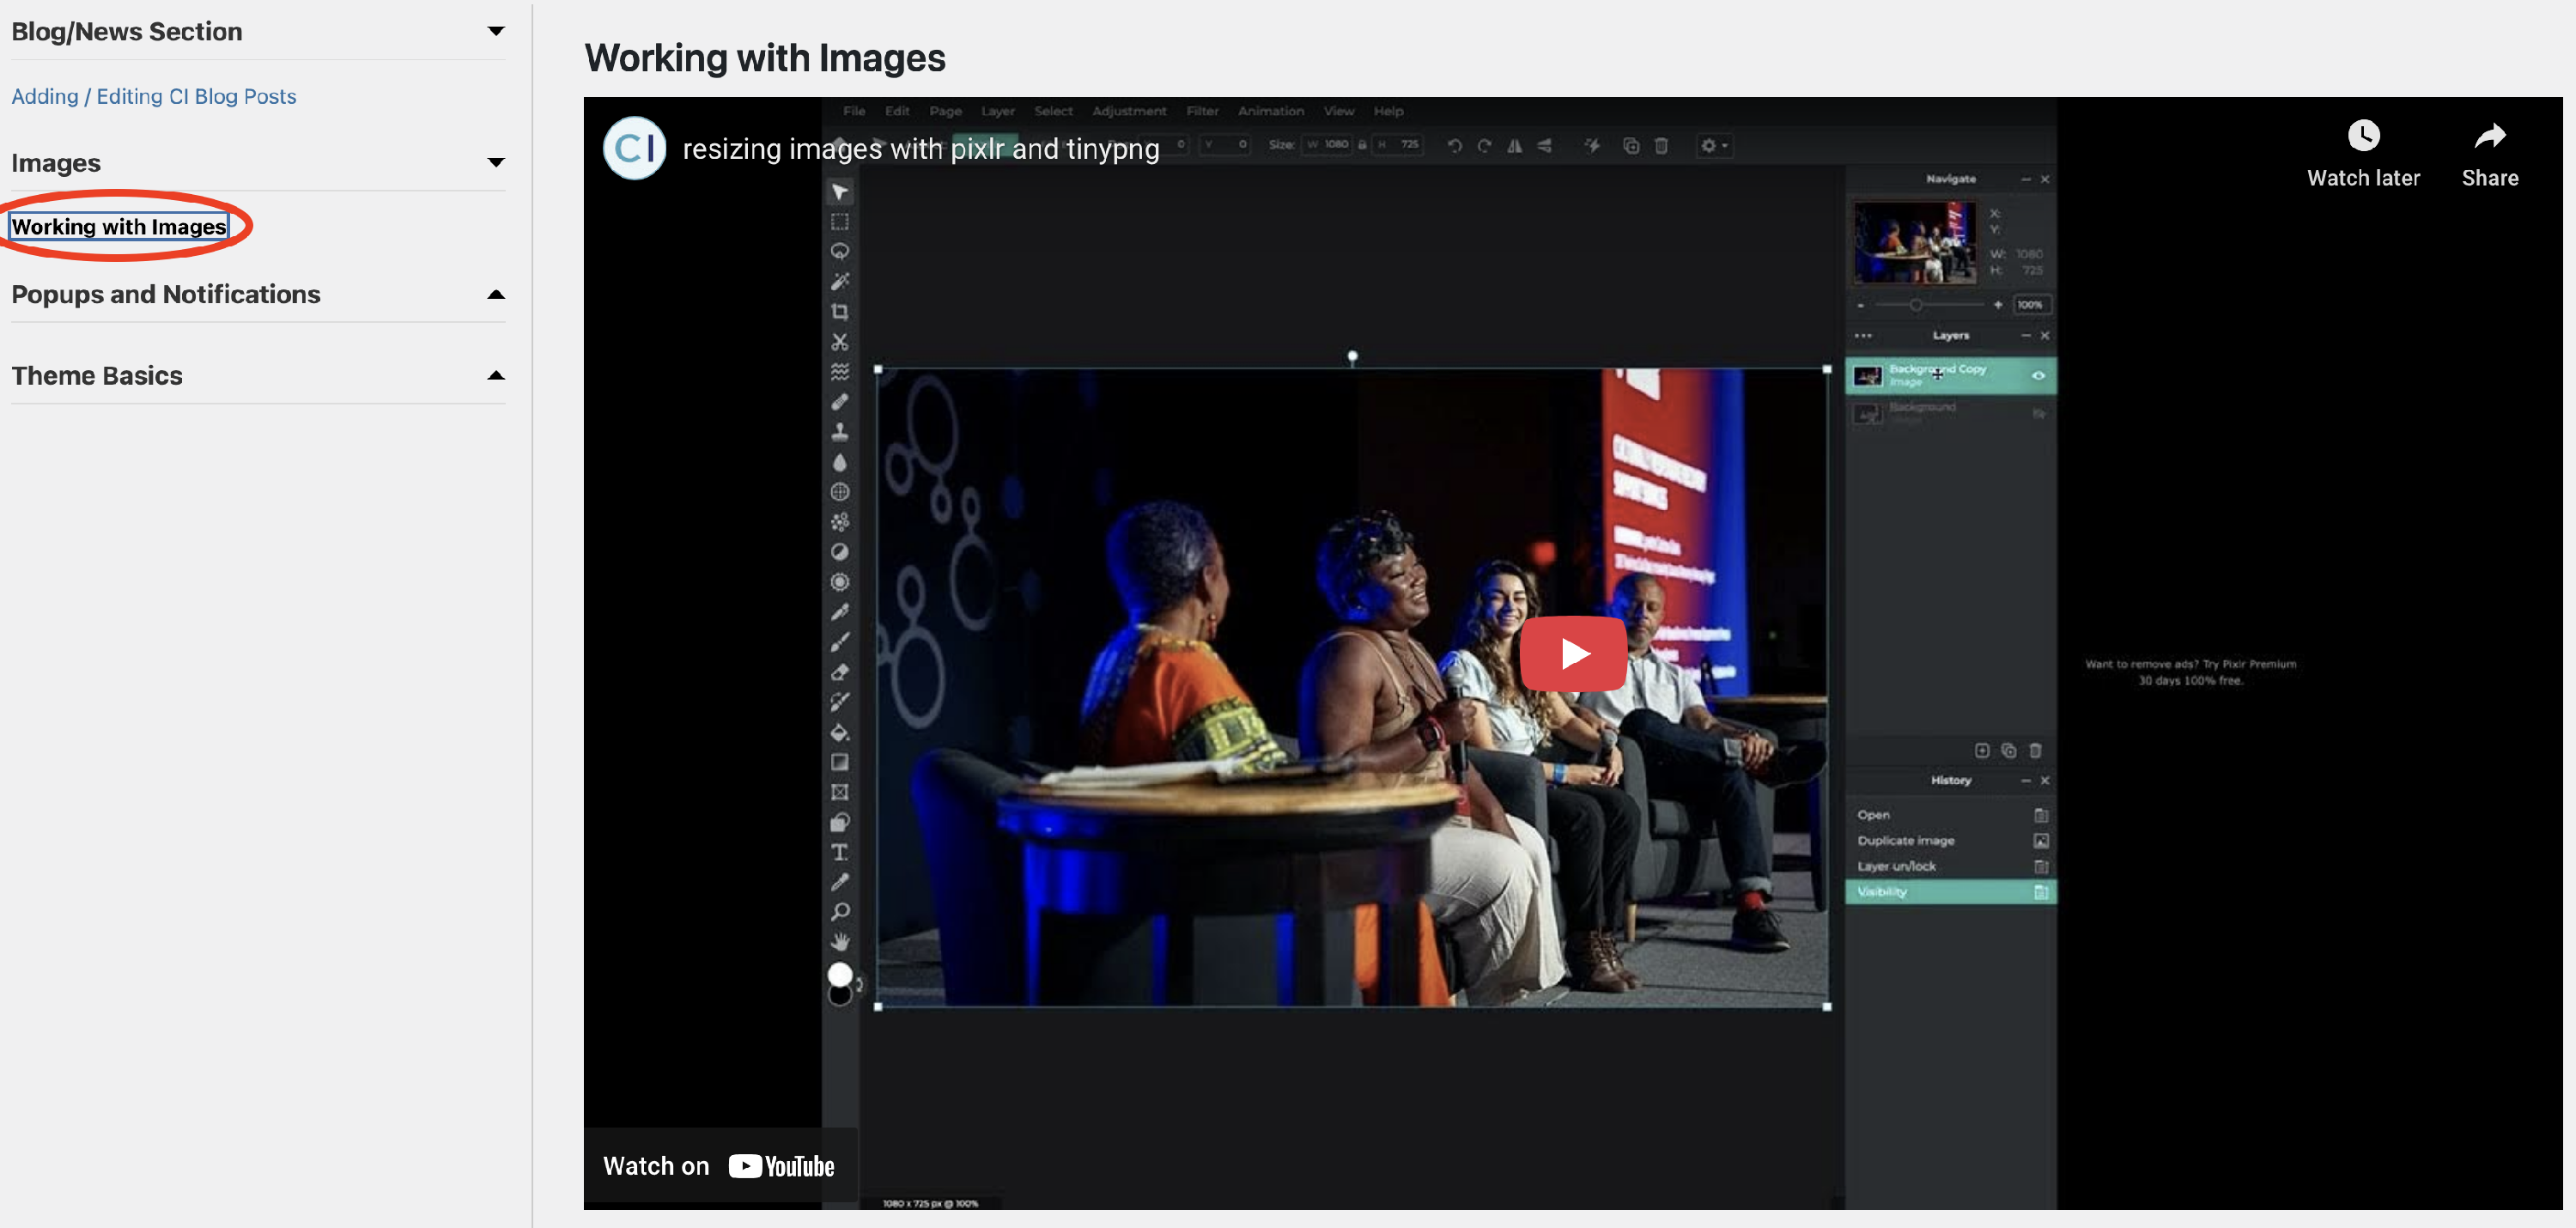
Additionally, we have created a video which is located inside your "Video Tutorials" section of your website, called "Working With Images"
Step 1: Choose the Right File Type
The file type you choose depends on the kind of image you're using:
-
JPEG (.jpg or .jpeg): Best for photographs and images with many colors and gradients.
They offer great compression with minimal loss of quality for complex images.
- PNG (.png): Ideal for graphics, logos, illustrations, and images that require transparency (like a logo without a background). PNGs generally have larger file sizes than JPEGs but maintain sharp edges and transparency perfectly.
-
WEBP (.webp): A modern image format developed by Google that offers superior compression for both lossy (like JPEG) and lossless (like PNG) images.
It can significantly reduce file sizes, leading to faster loading times, while maintaining high visual quality.
WEBP is widely supported by modern browsers and is becoming the preferred format for web images.
Step 2: Resize Your Images (Dimensions)
Don't upload images that are larger than they need to be! A photo from a modern smartphone or digital camera can be enormous (e.g., 4000 pixels wide), which is far too big for a typical website display.
General Guidelines:
- Full-Width Banner/Hero Image: Around 1920 pixels wide (height can vary, often 500-800 pixels).
- Blog Post / Page Content Image: Typically 800-1000 pixels wide.
- Thumbnail/Gallery Image: 300-600 pixels wide (or square, e.g., 300x300).
How to Resize (Using Free Tools):
You don't need expensive software! Here are some easy ways to resize images:
- Windows Photos App:
- Right-click on your image file and choose "Open with" > "Photos".
- Click the three dots (...) in the top right corner.
- Select "Resize".
- Choose a preset size (e.g., "M - Best for emails and messages") or select "Define custom dimensions" to enter your desired width (and height will adjust automatically to maintain proportion).
- Click "Save resized copy".
- macOS Preview:
- Open your image in Preview.
- Go to "Tools" > "Adjust Size..." in the top menu bar.
- Enter your desired Width (e.g., "1200"). Make sure "Scale proportionally" is checked.
- Click "OK" and then "File" > "Save" (or "Save As..." to keep the original).
- Online Image Resizers https://www.birme.net/:
- Go to the website.
- Upload your image(s).
- Enter your desired dimensions (e.g., "1200" for width).
- Download the resized image.
Important: Always maintain the aspect ratio (proportion) of your image when resizing to avoid stretching or distorting it. Most tools do this automatically if you only adjust the width.
Step 3: Compress Your Images (Reduce File Size)
After resizing, the next step is to compress your image. This reduces the file size without noticeable loss of visual quality.
We highly recommend these free online tools:
- TinyPNG (for JPG & PNG):
-
Go to
.
- Drag and drop your JPEG or PNG image(s) onto the page.
- TinyPNG will automatically compress them.
- Click "Download" to save your optimized image(s).
-
Step 4: Upload Your Optimized Image to WordPress
Now that your image is optimized, it's time to upload it to your website!
- Log in to your WordPress Dashboard (if you haven't already).
- In the left-hand menu, go to "Media" > "Add New".
- You can either:
- Drag & Drop: Drag your optimized image file directly from your computer into the upload area.
- Select Files: Click the "Select Files" button and browse your computer to find and select your image.
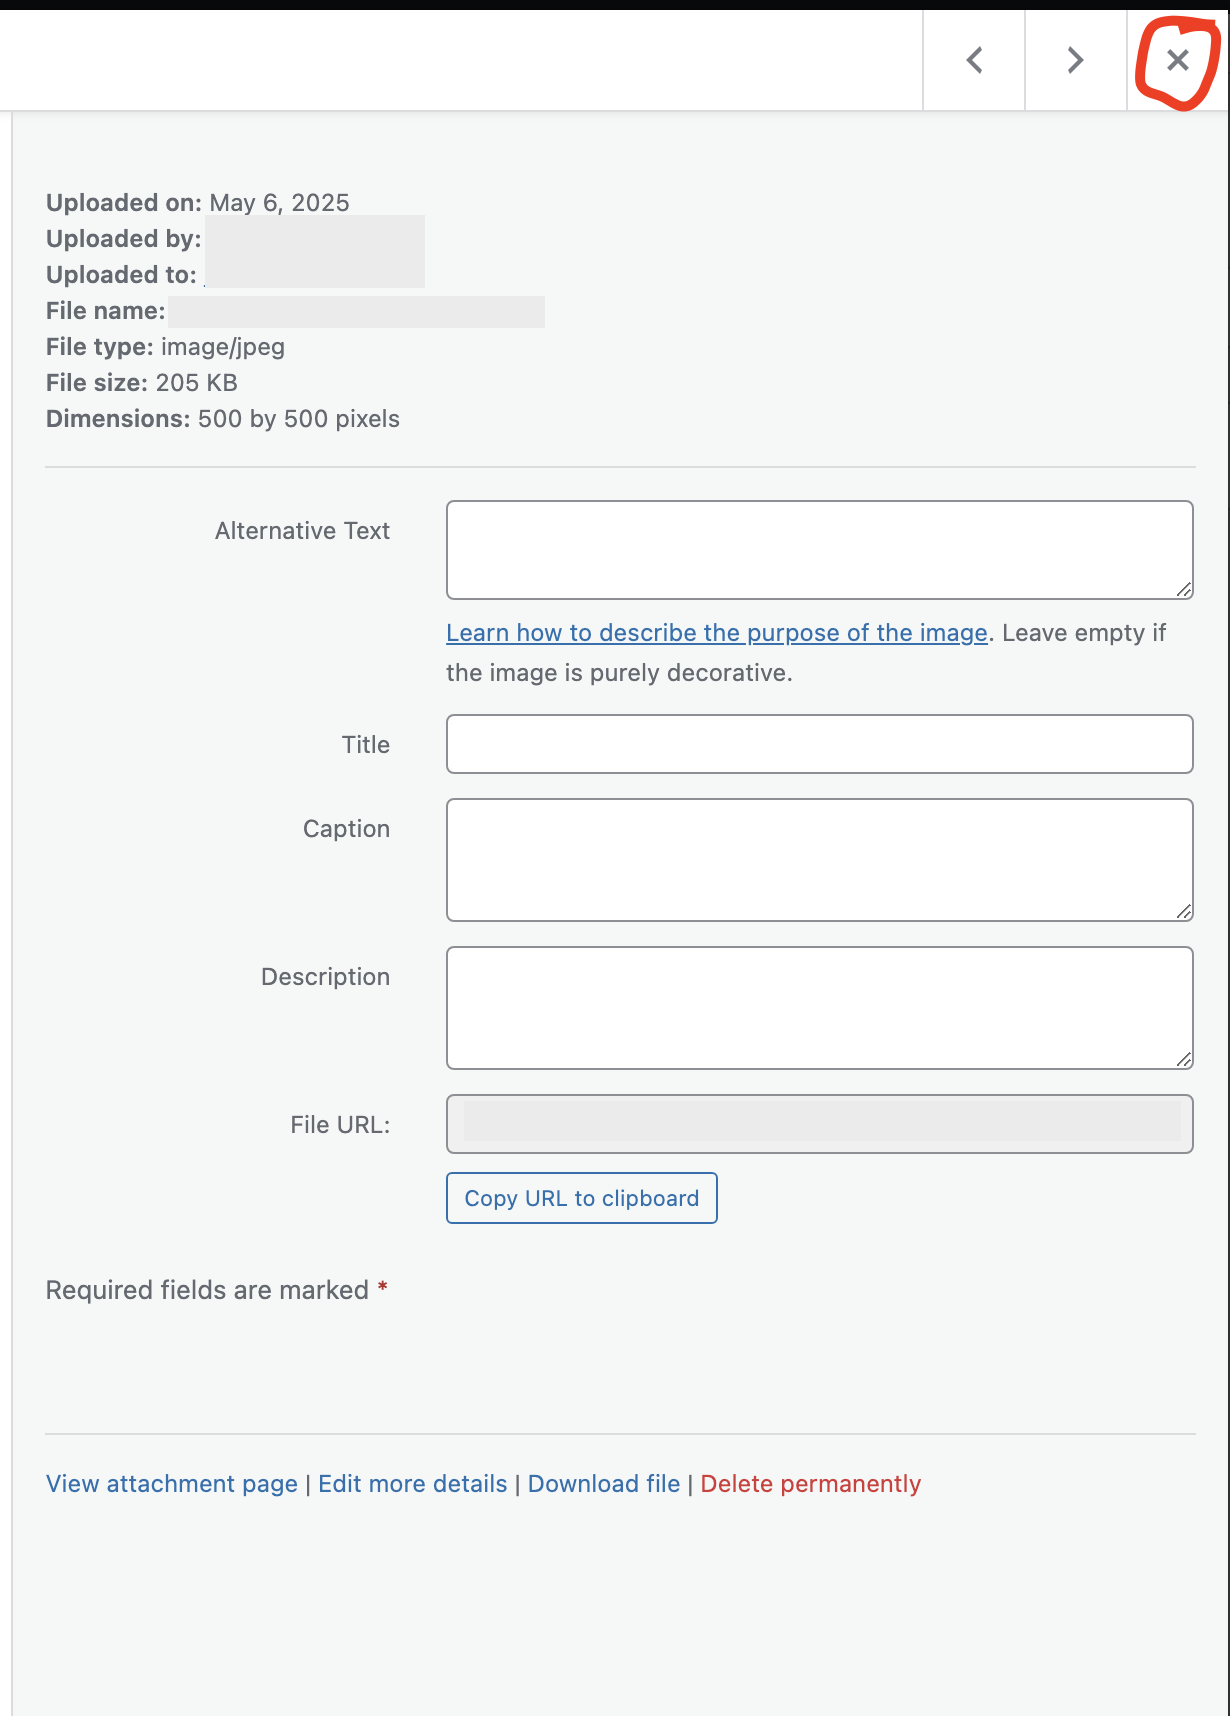
Step 5: Add Important Image Details (Accessibility & SEO)
This is a crucial step that many people miss! Always fill out these fields:
- Alt Text (Alternative Text):
- What it is: A brief, descriptive text that explains the image's content.
- Why it's important:
- Accessibility: Screen readers use Alt Text to describe images to visually impaired users.
- SEO: Search engines use Alt Text to understand what your image is about, which can help your images appear in image search results.
- How to write it: Be descriptive and concise. Imagine describing the image to someone who can't see it.
- Bad Alt Text:
image - Good Alt Text:
Red apples in a wooden basket on a farmhouse table - For a logo:
[Your Company Name] Logo
- Bad Alt Text:
- Title:
- This is typically used by WordPress for internal purposes or when the image is hovered over (though browser support varies). You can often just copy your Alt Text here or leave it blank
- Caption:
- Optional. This text appears directly below the image on your post or page. Use it if you want to add a visible description or credit.
- Description:
- Optional. This is generally used only if someone clicks on the image to view its attachment page. Less critical for most users.
- Click the "Update" or "X" button (depending on your WordPress version) to save these details.